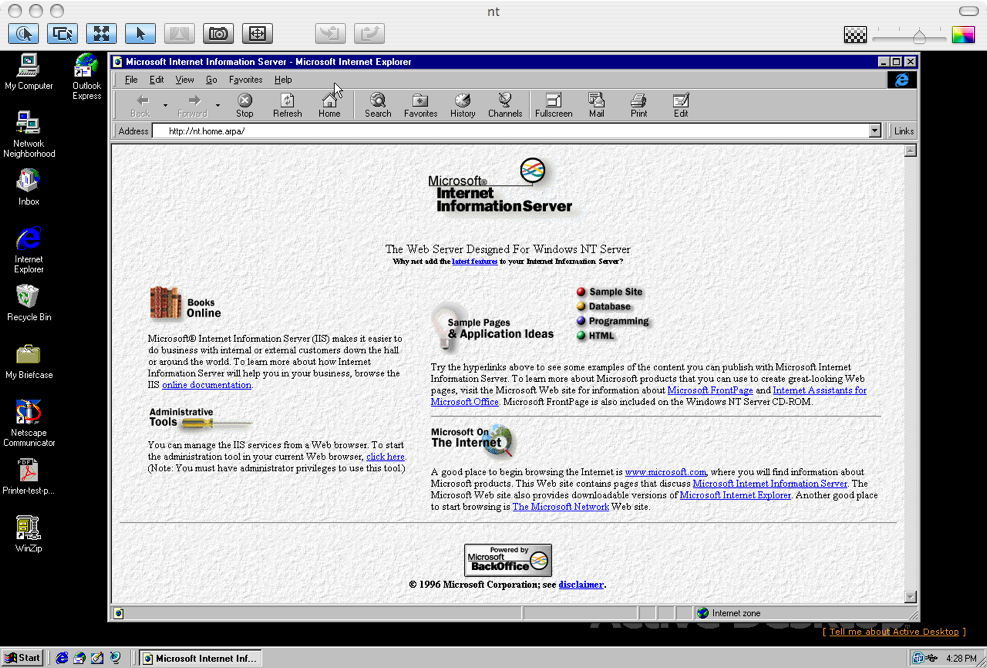
I run several VMs on ESXi 6.0, the last version to support the HP ProLiant DL380 G7 it runs on. The VMs are mostly *nix servers, there's also the odd server with a graphical user interface. One example is the Windows NT 4.0 Server1 VM I spun up to interface with the web UI on an HP DesignJet 650C network card. The card's web interface is constructed entirely of Java Applets, and only functions on IE 42 or Netscape Navigator 4.x (with the exception of 4.4), which must be running on Windows. Another is a Haiku instance.
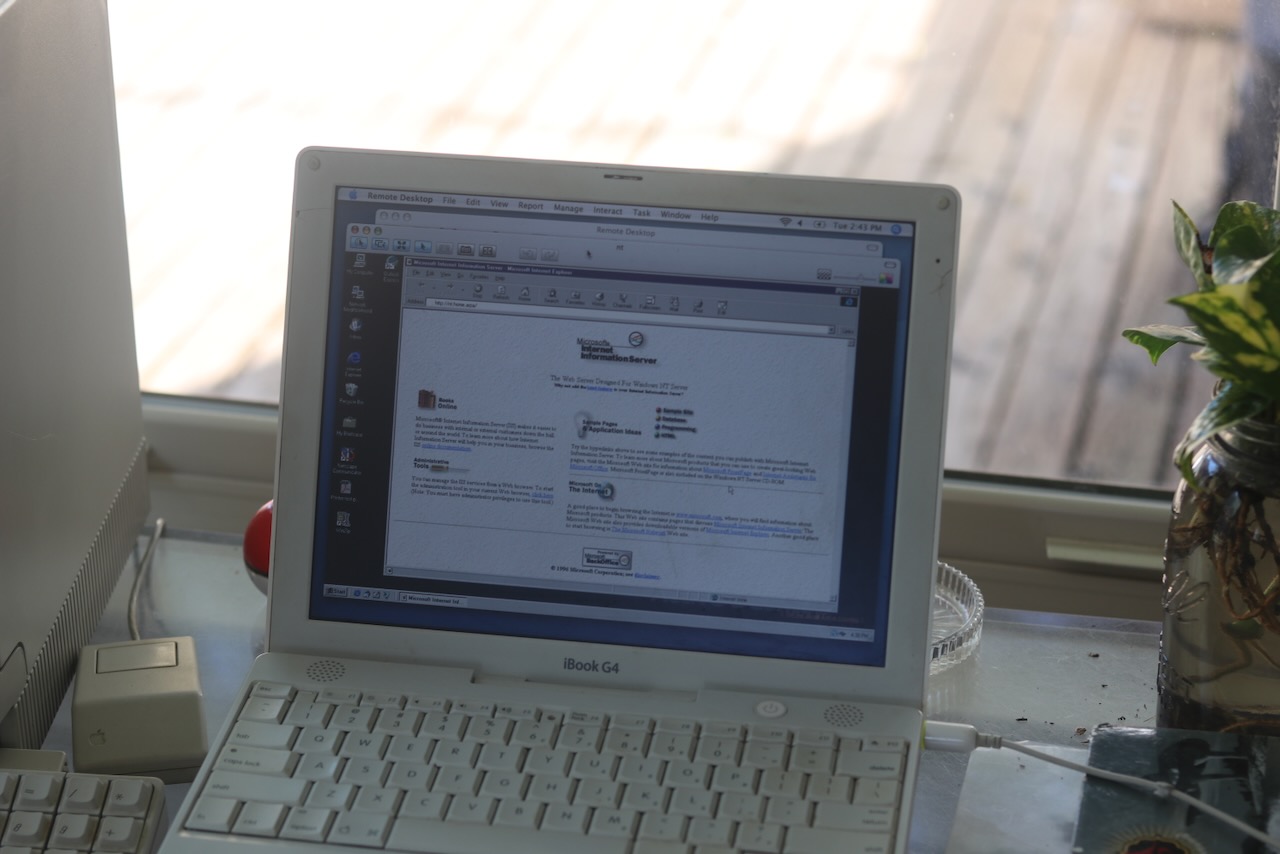
I can access these UIs from the VMWare ESXi web interface, which on my local network is at https://vms.home.arpa, but it would be neat to access these instances outside of ESXi as well. Recently, I've been looking at software for the iBook G43 I picked up at an estate sale, which runs OS X 10.4.11 Tiger. While I could upgrade to OS X 10.5 Leopard, I likely won't before backing up so I can boot into multiple releases (such as 10.3 Panther, the last to support AppleTalk over Ethernet). Apple provides their own software for remote access, Apple Remote Desktop, version 2 replaced the underlying protocol with VNC. Virtual Network Computing (VNC) is the de-facto standard remote desktop protocol, and is supported by many open client and server implementations. Use ARD 3.0 and the 3.3 upgrade and these keys within the 3.0 installer. Software Update on OS X 10.4 will still locate the 3.4 update and install it.
WinVNC
On Windows NT, we can use WinVNC, which is the original VNC client and server developed by The Olivetti & Oracle Research Lab (ORL) at Cambridge. I installed the version distributed by Palm, and unzipped it with WinZip 8.0. To get the files onto the VM, since I didn't have a file share set up yet, I ran python -m SimpleHTTPServer 9000 within the extracted folder on my laptop and then pointed Internet Explorer 4.0 at that address. Once installed, we can navigate to Start, Programs, Vnc, then WinVNC Server (Install Service). It should prompt you to start it from the Control Panel, navigate to Start, Settings, Control Panel, Services, scroll down to VNC Server and click Start. Then reboot the VM, you should be prompted to set a password on the next login.
From the iBook, we can open Apple Remote Desktop, find the Windows NT machine in the Scanner pane, click Control and fill in the password (no username necessary). The window should display our remote desktop! If you see a black screen, try minimizing and then expanding the window.
From a Macbook Pro running a modern version of macOS, we can simply press ⌘-K from the Finder and type in our server's address, e.g. vnc://nt.home.arpa. The system will prompt for a password and then display the Windows NT desktop. You can press fullscreen and change the Windows NT display properties to the largest supported size, 2560x1600, for an immersive experience.
ESXi's VNC Server
We can also do this natively from ESXi, using its VNC server
-
First, we need to enable the SSH service, this can be done from the web or console interface.
-
Next, connect to the server over SSH
-
Modify the firewall service file to be editable:
-
; chmod 644 /etc/vmware/firewall/service.xml ; chmod +t /etc/vmware/firewall/service.xml -
Edit it:
; vi /etc/vmware/firewall/service.xmland add the following entry:
<service id='0042'>
   <id>vnc</id>
   <rule id='0000'>
      <direction>inbound</direction>
      <protocol>tcp</protocol>
      <porttype>dst</porttype>
      <port>
         <begin>5900</begin>
         <end>5999</end>
      </port>
   </rule>
   <enabled>true</enabled>
   <required>true</required>
</service>
Each VM will require its own host on the ESXi server, which is why we use a port range.
-
Reload the firewall:
; esxcli network firewall refreshand ensure it's running:
; esxcli network firewall ruleset list | grep vnc
Now shut down the VM you'd like to configure VNC for. Edit its settings, and under advanced add the following:
| Field | Value |
|---|---|
RemoteDisplay.vnc.enabled |
TRUE |
RemoteDisplay.vnc.port |
5900 |
RemoteDisplay.vnc.password |
hunter2 |
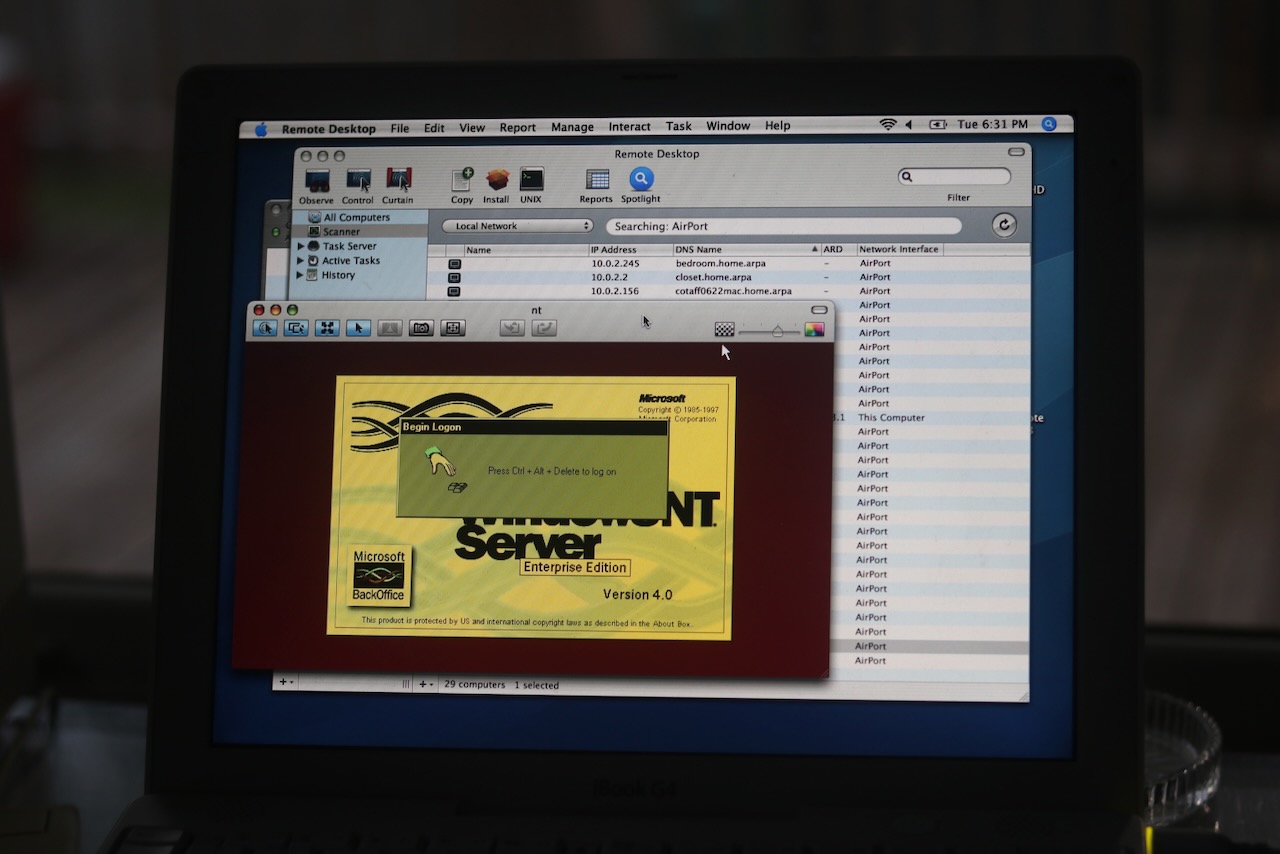
Start the VM and you should now be able to connect ARD to the ESXi server's IP on the port configured above. For each additional VM, just change the port. I was able to connect ARD and even watch the boot-up sequence of the server, but the image was yellowed (apparently a product of the bit depth of the image) and not very high resolution. It also disabled the console in ESXi's web interface.
Apple Remote Desktop
We can also access our iBook over VNC4, because OS X 10.4 comes with its own VNC software installed. To enable it, find Apple Remote Desktop under Sharing in the System Settings:
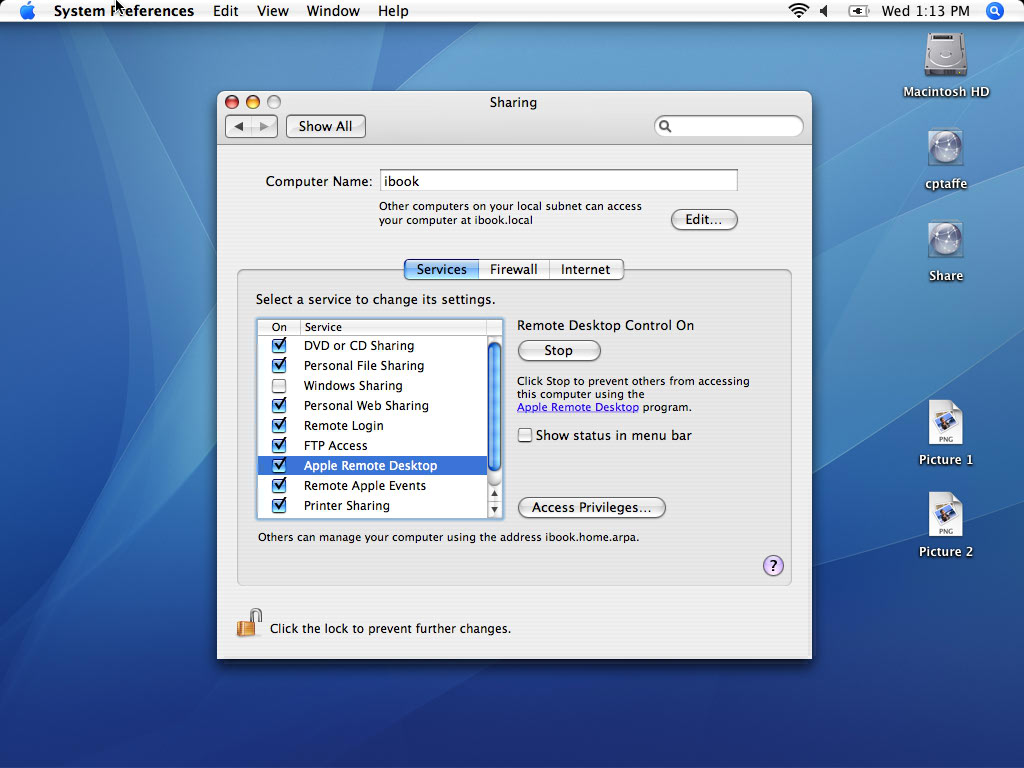
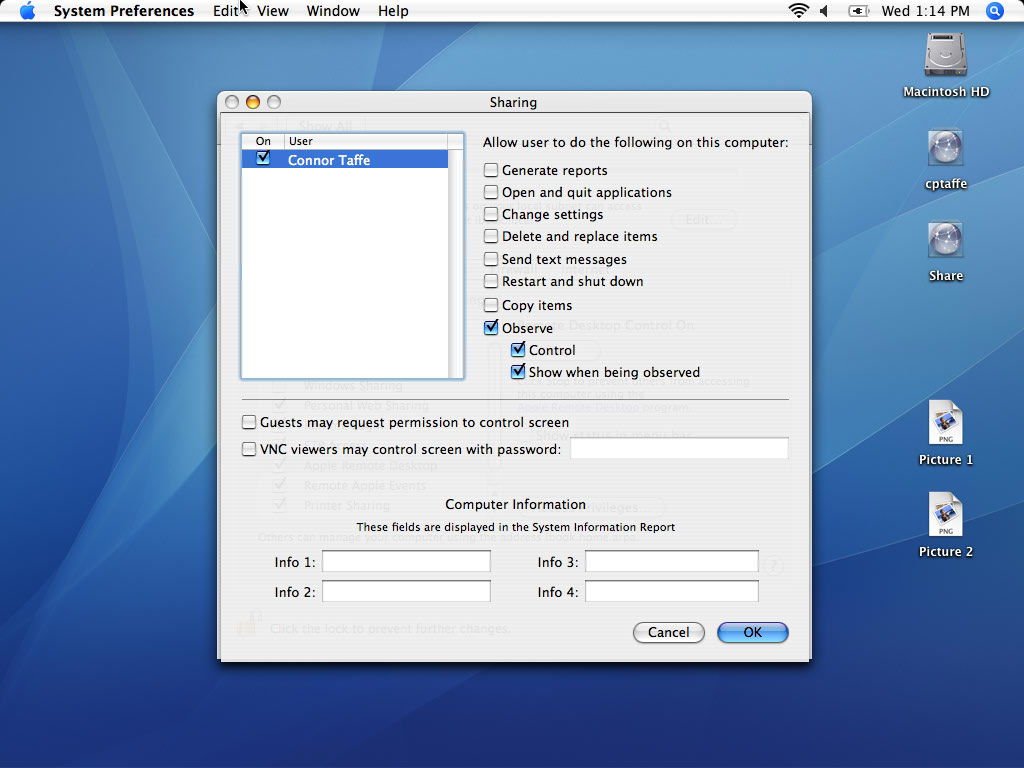
then under Access Priviledges, select the users to enable remote access for and check at least Observe.
Finally, connect to the iBook from our client. In macOS we can do this via ⌘-K by entering the VNC address vnc://ibook.home.arpa or the Network pane in Finder since OS X advertises this feature via Bonjour. The above screenshots were taken from the macOS Sonoma VNC viewer.
Now I can do my OS X Tiger exploration from the comfort of a modern MacBook Pro. I do have to leave the iBook lid open; even when plugged in, the iBook will sleep if the lid is closed, reportedly unless it has a monitor and keyboard connected.
-
The images for Windows NT Server 4.0 I used are titled
winnt40_x86en_entsrv.d1.isoandwinnt40_x86en_entsrv.d2.iso, they are available from the Internet Archive. To run it under VMWare ESXi, you also need VMWare Tools 3.5, which is still available from VMWare, without which the mouse will not function and the screen resolution will be rather limited. ↩︎ -
A copy of the Internet Explorer 4.0 install disk is available on the Internet Archive. ↩︎
-
To create a new admin account on an iBook G4 for which you don't know the existing admin password, boot into single-user mode by holding down ⌘-S while booting. Then run:
mount -rw /
rm /var/db/.AppleSetupDone
reboot
Upon reboot, the system will detect the absense of the
.AppleSetupDonefile and run through the initial setup wizard again, allowing you to set up a new admin account. ↩︎